Lesson #7 With Peter Maki
How To Wrap A Kitchen
In lesson #7 from the series with Peter Maki, we will take a closer look at a real-life example of wrapping kitchen cabinets. It includes countertop, doors, inside of the kitchen doors, and a general walkthrough of how we would approach this project right from the start through to the finish.
Before The Upgrade
Before we start any project, there are many things to look at, for instance, make sure you can install on the surface that the client would like you to install on; where you should install; what environment you will be working in; what surroundings are like.
These entail a detailed site survey. Please check our lesson on surveying – Lesson #6 How To Measure And Cut The Architectural Vinyl Film.
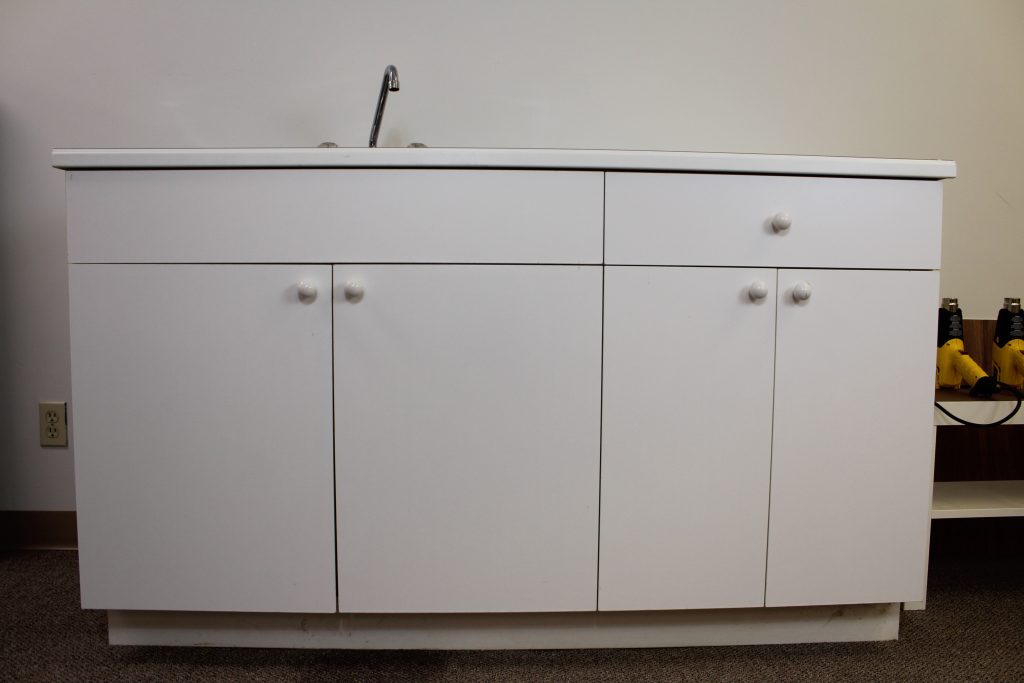
As for this project, we have a clean kitchen cabinets surface. They have no damages, are completely flat so we can do a 90-degree corner. On a countertop, there is an old silicone that needs to be removed. There are no damages to a countertop or its corners. Take a look at the front of a countertop. In our case, it is pretty straightforward, so Peter will be able to wrap it easily. Underneath, we are going to do kick plates as well, you also want to get down and see its state.
The other thing you want to pay attention to is how easily you can remove doors. In this case, they will come off easily.
You also want to check whether you can remove the sink. By being able to remove the sink, you will get a really nice, clean install around it. Then, when the installation is completed, you can put some silicone underneath to prevent any water sipping. If you can’t remove the sink, that is going to affect the time that takes you to install.
So these are all things you need to take into consideration before you start measuring and determining what type of material you will use.
Amount of Material
Our job is fairly small and won’t require too much material. But for the countertop, you want to go with linear footage rather than with square footage to not run short on your material. Do not forget to add a certain amount of material for overlapping.
Check our lesson on How To Measure And Cut the material to know more on the topic.
Disassembling vs Wrapping
In some cases, disassembling some parts of the project will save you time and effort on wrapping. So think twice about what would work better for every particular project.
Preparing the Surface
Take an alcohol-water mixture to clean up everything to see what we can take off with regards to grime and things that built up over the years of usage. After you have given it a good cleaning, maybe a scrape off, you want to sand the surface. It will make the surface smooth and get it ready for priming.
What does primer do
A primer helps to promote the adhesion, specifically, when you have got a surface similar to what we have in this lesson. It is a melamine surface – smooth but not glossy. So this surface does have a lot of pores, which means that vinyl does not get a strong adhesion. So you want to promote adhesion as best as you can, for instance, by using a primer.
Mix about 50/50 water to primer with a brush. Make sure you do not have any bubbles on your primer. You also do not want a thick consistency, it should be watery. Then roll the surface and edges with your paint roller. Remove bubbles with a lint-free cloth.
As a part of surface preparation, you need to fill in any damages, holes on the surface. You want to choose a wood filler that dries quickly so you could start installation in 15 minutes. With shallow dents, you need only one layer of filler. However, with some deeper dents, you will need a couple of layers. Give the surface a little sand. That will give you a nice, clean, and even surface that you can then install your vinyl on.
Why And Where To Use An Additional Primer
You want to give all the corners and all the edges an additional coat of primer, especially, when it comes to cabinet doors. The reason why you should pay attention to corners and edges is that these are the areas where you are going to have a high stretch, you are going to be bending the material over the edges, or they also might be high traffic areas.
This takes a small amount of primer but gives significant results.
Check for Imperfections
After everything is prepped, you want to check the surface with your hand. This allows you to feel any small imperfections that potentially can get through the material.
Line Up Film
Precut your material allowing a few inches for overlapping, line it up on the surface to see how it goes.
Installation
With a line release tool, cut back a few inches of a backing paper. Because you have got everything lined up beforehand, you can simply start your installation.
Then proceed as in Lesson #3 – How To Wrap A Wood Kitchen Cabinet Door Panel.
Cut Out The Sink
It is the part of the project where your knife can easily jump off. So to avoid this happening, go slowly holding your knife under a 45-degree angle.
Wrapping The Sides
Precut and line up the material against the wall. Overlapping, squeegee strokes, a lot of pressure – these are the main things to do. Then cut the excess material off. Proceed with every piece of the cabinet in the same manner.
Patterns
As a side note, for the lesson we have used several types of architectural film.
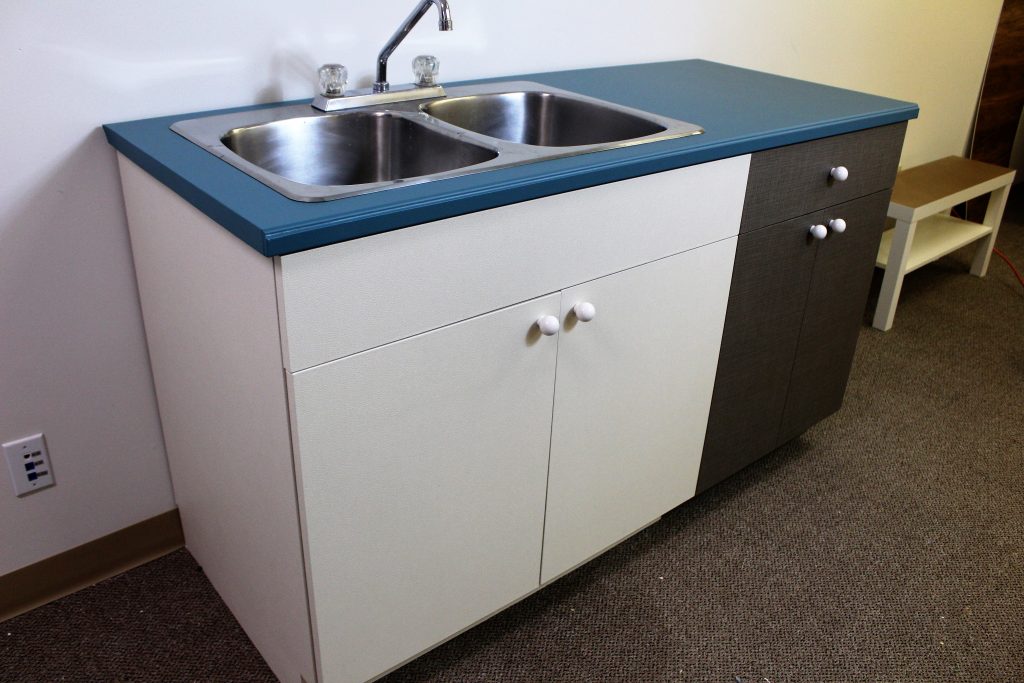
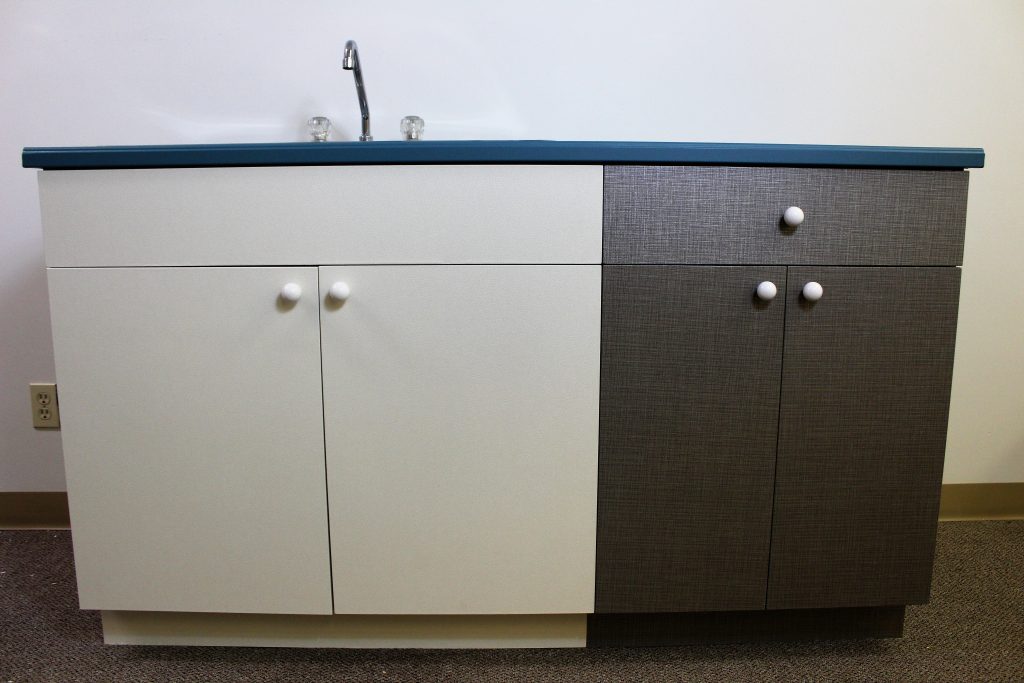
Cabinets were wrapped with TNS04 Beige Leather Bodaq Interior Film pattern from the Leather Collection and NS820 Metallic Threads Bodaq Interior Film from the Fabric Collection. And a pattern for the countertop – S175 Blue Turquoise Bodaq Interior Film from the Solid Colors Collection.



We hope you found some useful tips and the lesson was informative. Stay tuned!


