Lesson #3 With Peter Maki
How To Install Vinyl Film On A Wooden Kitchen Cabinet Panel
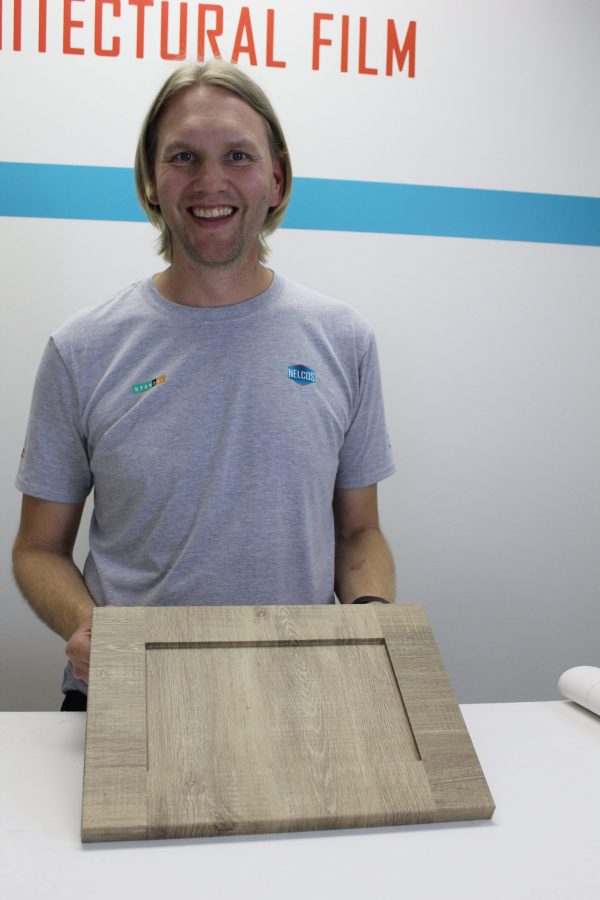
Peter Maki, an experienced installer who has been working with vinyl film for many years, will show you how to wrap a wooden kitchen cabinet panel correctly. Please see the video below or read the article.
How To Start Installation
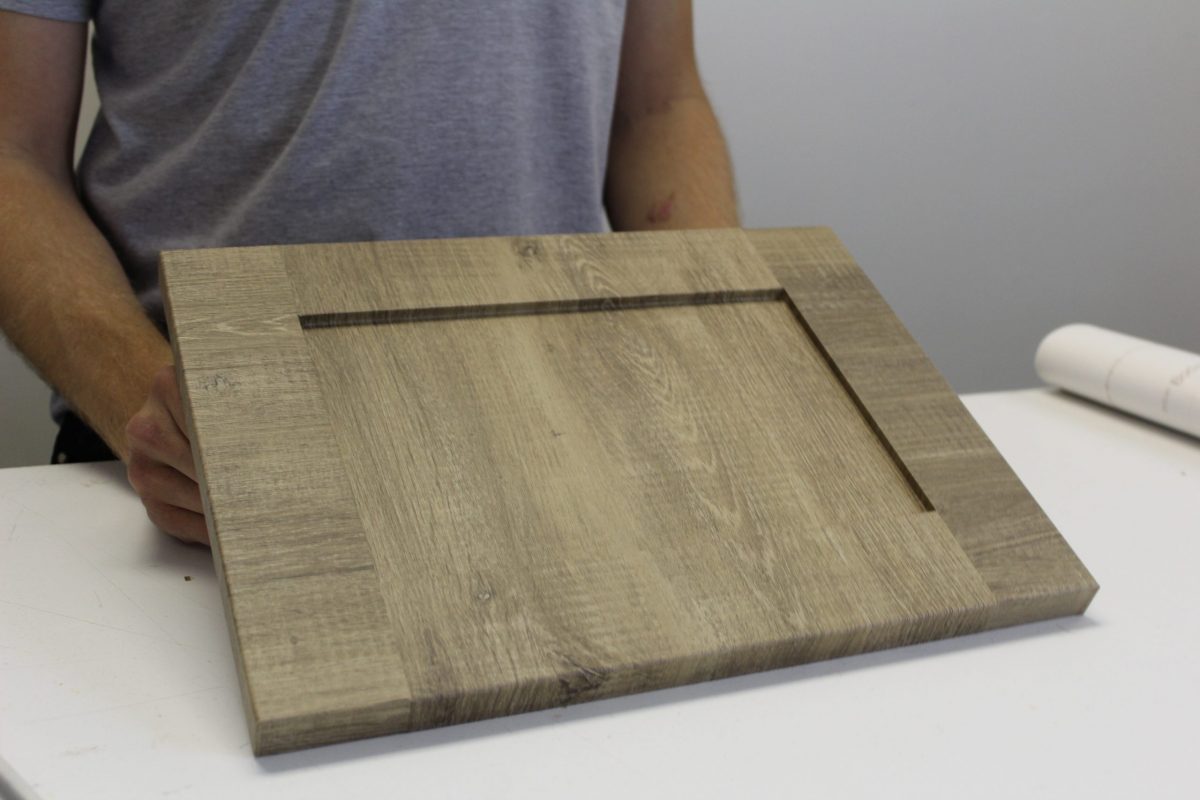
In this lesson, we are going to look through the main steps of how to apply the architectural vinyl film on a wooden panel. It is a wooden kitchen cabinet panel. In our previous lesson, we already worked with the panel – we have prepared it for the installation.
For today’s installation, we are using a wooden pattern to change the way the panel looks.
As you can see we have wood grains running in different directions. That is why we need to wrap the panel into three separate pieces. The first piece is going to come around each end, tuck in, come across the edges and corners. It will be trimmed on the long side of the panel. As for the shorter side, the wood grains should look in a different direction. In the place where these pieces meet, you want to perform a double-cut and a straight cut for the corner. Unfortunately, you cannot heat and stretch the material on the 90-degree corners. Then we will get a nice slim finish on the panel.
Measuring and Cutting
So the next step is measuring the panel and cutting the material. You do not want to cut too much material or have too much waste. But at the same time, we want to have enough overlap that will allow us to stretch the material and then cleanly trim it. So for the panel Peter recommends to cut 2-3″ extra. That is not a lot of extra but it is enough to play around. The other important thing is the width. There, it is enough to add 1.5″ extra.
Cut the material in regards to your measurements.
Lay the material out to see whether the piece will work.
Hinge Method for Applying Self-Adhesive Vinyl
In this case, Peter installed the material in a hinge method.
Cut the strip of a paper backing and set up a hinge. Remove the hinge cut and line up the piece of material. Apply the hinge, then start to pull up the other two pieces. Then start with a felt edge of a squeegee and apply the film carefully, making sure to tuck in the material on every edge. In corners, installation can be difficult. So for that, you’d need a small squeegee to push the material in a corner. Then use the utility knife (remember to take a fresh blade every time you cut) cut right along the edge of the corner. You can do that free-hand or use your squeegee to guide you. That will allow you to lap the material over the edge and wrap it neatly.
When the first piece of the vinyl film is applied, you need to cut off the excess material at a 45-degree angle. This will give you a nice finish.
On the short side, you need to do four double-cuts (watch from 7:46 to see the detailed tutorial on this type of cut). Before you do a double-cut, practice on a table. When a double-cut is performed correctly, you cannot actually see the seem.
How to wrap corners
For the corners, Peter recommends using the overlapping 90-degree corner cut.
Start by getting the material over the edge with your finger. Make sure that on every door, every edge, and every corner you do the exact same overlap in the same direction. Then squeegee that in place, tuck it down. Come on the other side of the panel, trip the edge of the material and trim the other edge back to the top of the material. This allows us to fold the material over to form the 90-degree angle cut. You want to make sure that vinyl sticks to vinyl.
Then it is time for another double-cut. Here we have two pieces of material overlapping each other. You need to get a straight edge and line it up with the edge of the cabinets so all the grains go evenly. Cut through all pieces of material. Then start by removing the first layer that you cut through. Pull up the corner piece and slowly pull out the layer underneath. That is where just a slight touch comes in to lay everything in place. Then with a hard edge of the squeegee go back and forth slowly. You want to apply a lot of pressure to marry those two pieces together.
And that’s a double-cut.
Would You Like To Know More?
Are you interested in installation training with Peter? Or maybe you would like to become a Bodaq certified installer? Feel free to contact us to know more about our product, services, and training.
You can also find more information about installations and lessons from Peter Maki by the links below:


